Things have been pretty busy these last few months, However in the coming posts I will followup on the build of my Anycubic Linear Delta plus 3D printer, as well as an overview on the outcome of my Landrover D90 pickup 1/10th scale 3D printed body shell...
Currently working on Landrover series 101 shell design, as well as a new case design for Raspberry pi Z
Keep a look out.
Showing posts with label 3D printed Brackets.. Show all posts
Showing posts with label 3D printed Brackets.. Show all posts
Saturday, 21 April 2018

Friday, 16 September 2016
Up! Box Printer Issues!
Hello. Sorry its being a few long months since the last post, mainly a mix of working away from home, then Holiday, then more work (Trying to get the printer to work at the same time).
And so to the issues with the printer not work - It has now being back for repair 2 x times, firstly there was a replacement hot end board, then next a replacement CPU! (On the plus side, that means new firmware that is capable of handling the new version of PC software for the UP products)
Now following up with my review of the UP box, I would like to say it is not designed for someone that isnt technical. You will need to replace the 3D printed parts that are in the unit. I have found so far that I have had to replace the mount for the hot end board, and then at the same time replace the cable restraint for the hot end - luckily these are 3D printed files supplied with the software installation.
So the first photos below show the cable in the FPC connector on the hot end board, and the 3D printed mount


So the first photos below show the cable in the FPC connector on the hot end board, and the 3D printed mount


The next photos show the cover that provides the strain relief for the FPC cable


Unfortunately if you don't have these already printed out and they wear out, you have to glue the screws back in to give you a chance of printing out the spare part.
Finally the other issue that I have found is the cable that connects the main board to the hotend, this cable is a flat ribbon cable that connects to an FPC connector (Not the best connector for something that has constant movement)

- I believe that this is the biggest design flaw. Luckily being technically minded I was able to spot that the issue I was seeing where the print was stopping a while through, due to the head being too cool, was actually due to the cable not making a good connection in the connector.
Luckily the Guys at Denford - who are the UK distributor for Tiertime UP, realized I was technically minded and therefore When I asked them to send me a spare cable, they did...Otherwise a 2 days fix could've turned into a two week fix!
So now I am back up and printing, with a new cable and newly printed out parts.
Tuesday, 12 April 2016
Up! Box Printer - Part 2 - First Print
It has taken a while, as it has been a bust period of printing parts for work. But I thought I should publish this post as a followup now.
Having setup the printer, I didn't get round to printing until after the weekend. So when I got back into work on the Monday, the printer was fired up - Now each time its switched on you have to initialize it via the initialize function in the software. One thing I was a little disappointed with is that unlike the Ultimaker 2 which can be used standalone and can select and read the files at the printer without a PC connection, the UP! Box appears to be designed to be connected up to a PC!.
Having setup the printer, I didn't get round to printing until after the weekend. So when I got back into work on the Monday, the printer was fired up - Now each time its switched on you have to initialize it via the initialize function in the software. One thing I was a little disappointed with is that unlike the Ultimaker 2 which can be used standalone and can select and read the files at the printer without a PC connection, the UP! Box appears to be designed to be connected up to a PC!.
Anyway once initialized has been completed, you load the part and locate it on the bed in software. The Software did seem a little clunky. To move the part you first must select the move icon and then in the drop down menu next to this select how much +/- you wan to move by and then press the x, y, or z button. To rotate you select the rotate button and then do the same. Not as nice as using arrow keys, or the mouse.. and takes some getting used to.
Here is the first print being printed, it is the bracket. When printing the UP BOX logo lights up to tell you the progress of the print, it also lights up different colors depending on whether there is an error or at what stage of printing, i.e. heating up for instance. - A nice little feature that save looking at the computer screen. If you press the power button once on the printer then inside the printer is lit up so that you can see the print.

Once removed from the printer the bracket can be seen, and its very good quality.


The Quality is definitely on a different order of magnitude to that of my printer, the same print but on my printer can be see here.
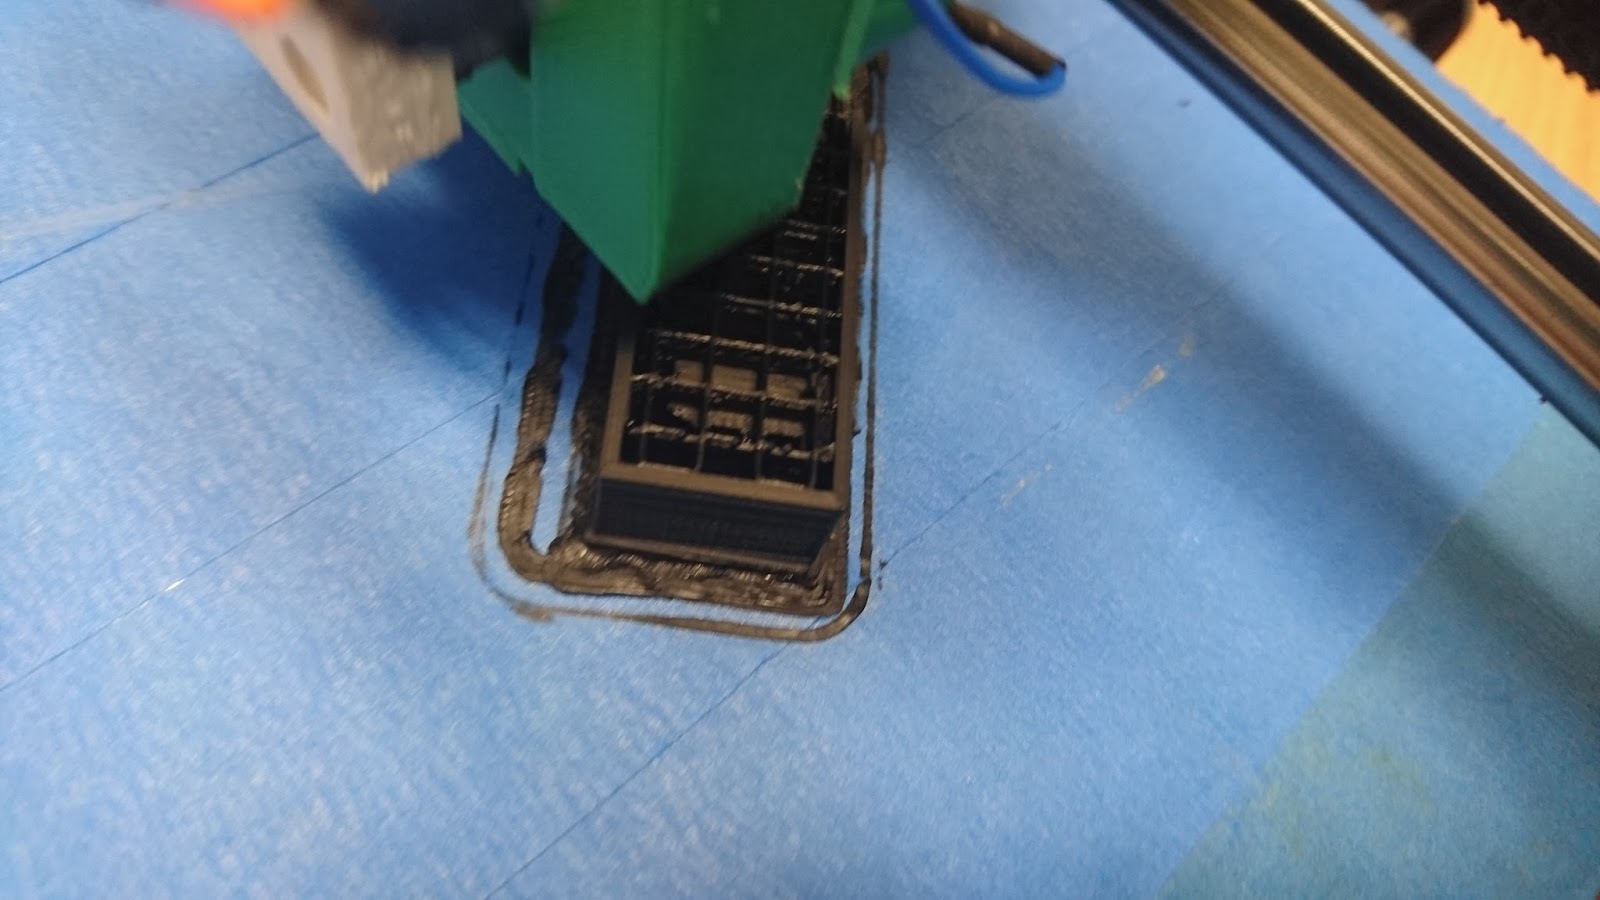
There are different speeds of settings to print to, Fine, Normal, Fast or Turbo. I have yet to see any difference in quality and speed between Normal (1.5hr), Fast (1.25hr) and Turbo (just over an hour) - I was expecting bigger differences.. I have set it up to do a reasonable (20% fill) lattice.
You can actually see the lattice structure below.
Sunday, 6 March 2016
UP! Box 3D printer - Part 1
The other week I was able to persuade my employer to purchase a 3D printer for the office. Basically we have a bracket that we have designed for a new product, and getting this machined for a quantity of 1500 was going to cost £5.60 each. 3D printing the part comes out at 60p including the material and energy costs.
An investment of £1,500 for the printer plus printing out the parts I worked out would cost £3k less than machining! - Hence they accepted my proposal to purchase a 3D printer.
Now onto the choice. I had got the choice down to either the UP! box or the Ultimaker 2. What I wanted was the flexibility and the ease to get up and running. It was a hard choice (I spent nearly two weeks debating over this). But basically since I am the only one in the office with a clue about to get a 3D printer working in the event of something going wrong, I wanted a printer that would work out of the box. So the UP! Box it was.
You can purchase the UP! Box from a number of suppliers, We got ours from CPC (Which are part of the Farnell group).
Here is a link to the printer
I was impressed on reading the specs that you could be up-packed and printing within 15mins!
Upon receipt of the printer I was really impressed with how well it was packed. It really helps to have a second pair of hands to remove it from the box.

Power supply, and tools included.. You will need the scraper!

USB Cable, Spare nozzle, USB stick, allen keys and tool to remove the nozzle

Great Quick start instructions

Software on CD (Same as supplied on the USB memory stick) and print beds


Rear view

Side view with the spool cover

Spool cover removed

Top view

Front View
So you get 4 x printing platforms, 3 perforated which are supposed to be for ABS, and I Guess the plain smooth plate is for PLA. All that is required is to clip off the cable ties that are marked with the yellow tag, load the software and then switch the unit on, perform an initialization and auto level mode and its then ready to print.
To insert the filament into the extruder you first load the reel into the right hand side (Accepts 500g sized reels - 750g at a real push). The filament is fed through the tube and then placed into the extruder. In software you go into the maintenance menu and select extrude. The hot end heats up to temperature for the chosen filament, and then beeps to say its at temperature. Once at temperature you can hear (and feel the filament being pulled into the extruder), this then extrudes a set amount of filament out of the nozzle and then stops - presumably preset up such that if you change filament colour that it extrudes enough filament to remove fully the old color in there!
Now I am ready to print. So far this has been a smooth setup - Really this could be done by anyone without engineering knowledge of 3D printers - I did notice that you can print out spare parts of the printer (as there are the files for the spare parts on the supplied Memory card, and also some of the parts on the printer are obviously 3D printed).
(The software reads in an STL among other file formats and then outputs its own Machine code format - as opposed to GCode)
So in All - Can you be setup and printing in 15mins? ....... Yes if you don't have to take other calls, whilst setting this up!
Subscribe to:
Posts (Atom)