Wednesday, 27 April 2016

Rigid Ink and the UP! Box 3D printer


So Sometime ago I got a sample of Rigid Inks ABS Filament - Unfortunately you don't get to choose the colour, but at least you get to try out a different supplier.

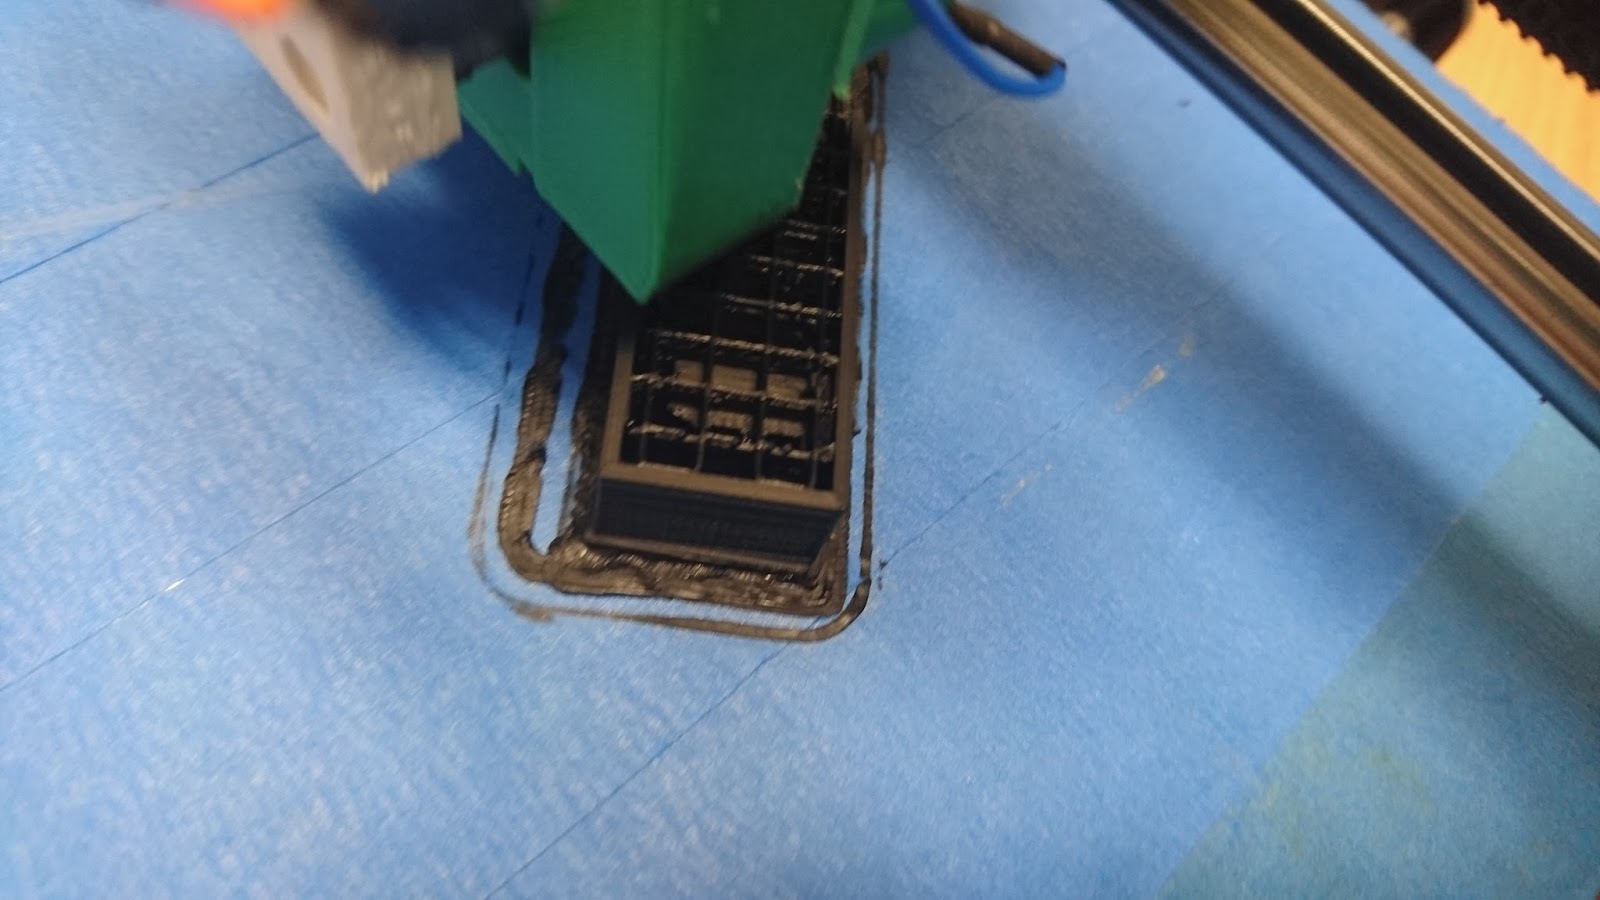
Here are the results of printing on the UP! Box, Printing our a marvin robot keyring.
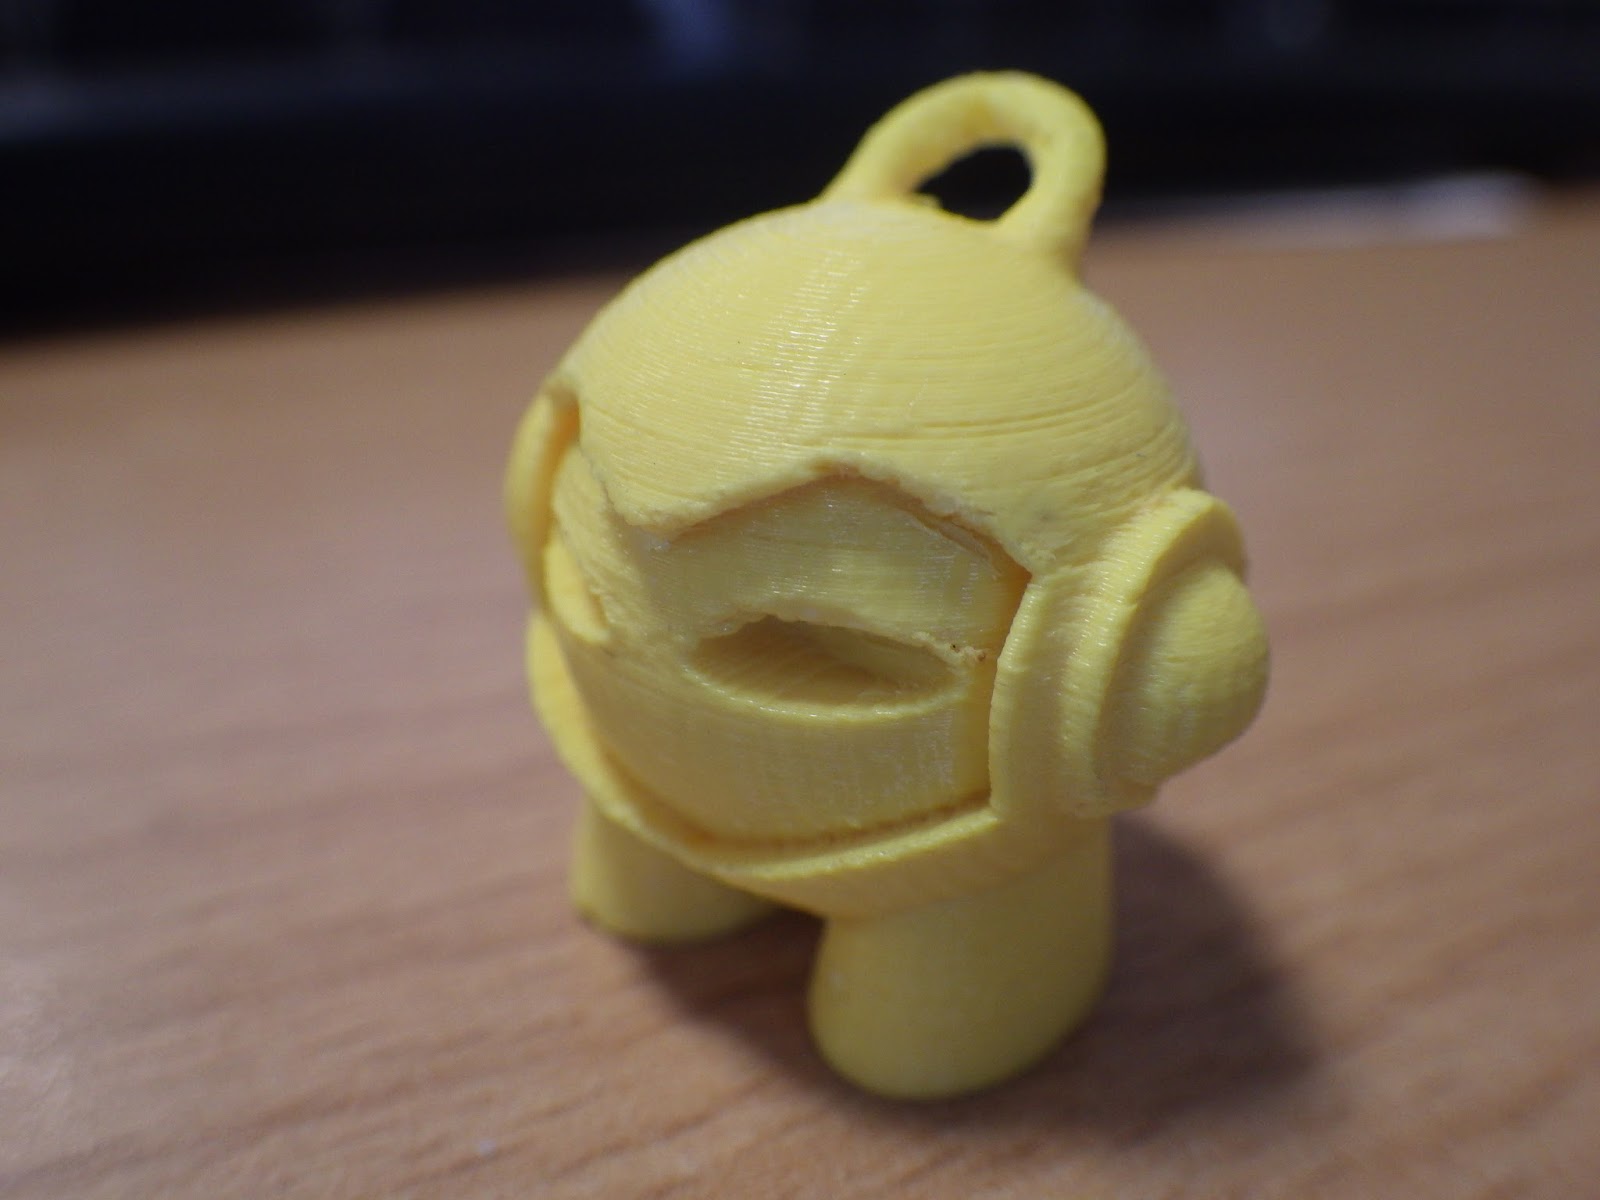

Here is the print smoothed with Acetone to see how the filament smooths out.

Looks pretty good doesn't it.. On the white tiertime filament that comes with the UP! Box printer, it struggled with the key ring loop at the top of the robot, however with the RigidInk filament not a single problem.. It really is amazing as I was expecting the tiertime filament to out perform the Rigid Ink filament considering that the Rigid Ink filament was extruded at the upper end of its temperature range. Also I have been finding the green ABS filament from UP! manufacturer struggles to get going in as much if you put in a reel after the printer has rested, the filament requires an extra bit of pushing to get it to start extruding properly. - Now this is filament that is meant to be compatible with the UP printer (This of course could just be the green filament being the problem, and that any other colour would be fine)..

From my initial Test I am definitely sold on the Rigid Ink Filament, it is a shame that the colours are limited, for instance would be great to have a glow in the dark filament.

I am definetely going to try and get some of their other filament to test - Looks like I should be able to print PMMA and Nylon12 with the standard UP! Box setup - so watch this space!

Oh the final plus of Rigid Ink Filament is the cost - For the filament for UP! Box I have been paying £27 for a 500g reel, Rigid Ink filament is the same price but for double - yes double 1kg reel! Bargain

Tuesday, 26 April 2016

Up! Box 3D printer - Part 3 - After a Month of use

So I thought I would write up a short review of the UP Box having used it now for over a month.

It has been an interesting month of use, it produces consistently good prints if your careful, and follow good housekeeping of the unit. In this I mean the perforated bed! This seems to me to be one of the Ups biggest strengths and yet one of its weaknesses.

The perforated bed is a great design idea, and simple in use. The idea being it helps the ABS to stick down to the bed by allowing the ABS to ooze into the perforations (The printer is setup to level and auto height adjust to the right height to allow the correct amount to ooze into the perforations whilst achieving a good 1st layer - Get the height wrong and you either get ABS jams in the extruder, or the print doesn't stick). This works great to start off with, but after a while the perforations get clogged up and then the extruder stops extruding and skips on the gear (caused by back pressure) ( and then causing the extruder gear wheel to clog with bits of ABS meaning a complete tear down and clean of the extruder). Looking on the forums everyone suggests wiping over with Acetone prior to printing. Whilst this works to start off with, you can end up wiping endlessly to get it to start working properly (I found a simple wipe after a while did not solve the Extruder skipping).

I have tried a couple of other ideas.

1) Submerse the perforated bed into a vat of Acetone - This is the brute force and ignorance method which works really well, although you do need a well ventilated area and that you agitate the acetone every so often in order to get it to flow through the perforations... I did this with the bed for around 4 hours and seems to clean them out really well.

2) Sit at a desk with a PCB spike (Used for cleaning through holes in PCBs out ready for soldering), or similar stiff spike - maybe one for starting a hole in wood. Push the spike into each hole with ABS in, and this will push the ABS out the back. Then use the pair of wire cutters to remove the neat little ABS plug out. Yes very time consuming, but something good to do whilst you are waiting for a piece of software to load up/ Waiting for your document to load up/ Or simple had enough of the office politics and want to wind down!


The other weakness I feel is the extruder - its a simple gear on a stepper motor which if you get any jams leaves you having to dismantle the extruder (Instructions are given to do this, so they expect you to have to do it often)

and in short would I purchase one for myself... Hmmm hard to say at the moment

Tuesday, 12 April 2016

Up! Box Printer - Part 2 - First Print


It has taken a while, as it has been a bust period of printing parts for work. But I thought I should publish this post as a followup now.

Having setup the printer, I didn't get round to printing until after the weekend. So when I got back into work on the Monday, the printer was fired up - Now each time its switched on you have to initialize it via the initialize function in the software. One thing I was a little disappointed with is that unlike the Ultimaker 2 which can be used standalone and can select and read the files at the printer without a PC connection, the UP! Box appears to be designed to be connected up to a PC!.

Anyway once initialized has been completed, you load the part and locate it on the bed in software. The Software did seem a little clunky. To move the part you first must select the move icon and then in the drop down menu next to this select how much +/- you wan to move by and then press the x, y, or z button. To rotate you select the rotate button and then do the same. Not as nice as using arrow keys, or the mouse.. and takes some getting used to.

Here is the first print being printed, it is the bracket. When printing the UP BOX logo lights up to tell you the progress of the print, it also lights up different colors depending on whether there is an error or at what stage of printing, i.e. heating up for instance. - A nice little feature that save looking at the computer screen. If you press the power button once on the printer then inside the printer is lit up so that you can see the print.


Once removed from the printer the bracket can be seen, and its very good quality.


The Quality is definitely on a different order of magnitude to that of my printer, the same print but on my printer can be see here.


There are different speeds of settings to print to, Fine, Normal, Fast or Turbo. I have yet to see any difference in quality and speed between Normal (1.5hr), Fast (1.25hr) and Turbo (just over an hour) - I was expecting bigger differences.. I have set it up to do a reasonable (20% fill) lattice.
You can actually see the lattice structure below.


Sunday, 6 March 2016

UP! Box 3D printer - Part 1

The other week I was able to persuade my employer to purchase a 3D printer for the office. Basically we have a bracket that we have designed for a new product, and getting this machined for a quantity of 1500 was going to cost £5.60 each. 3D printing the part comes out at 60p including the material and energy costs. 

An investment of £1,500 for the printer plus printing out the parts I worked out would cost £3k less than machining! - Hence they accepted my proposal to purchase a 3D printer.

Now onto the choice. I had got the choice down to either the UP! box or the Ultimaker 2. What I wanted was the flexibility and the ease to get up and running. It was a hard choice (I spent nearly two weeks debating over this). But basically since I am the only one in the office with a clue about to get a 3D printer working in the event of something going wrong, I wanted a printer that would work out of the box. So the UP! Box it was.

You can purchase the UP! Box from a number of suppliers, We got ours from CPC (Which are part of the Farnell group).

Here is a link to the printer

http://up3dprinters.co.uk/up-box-features/

I was impressed on reading the specs that you could be up-packed and printing within 15mins!

Upon receipt of the printer I was really impressed with how well it was packed. It really helps to have a second pair of hands to remove it from the box.

Power supply, and tools included.. You will need the scraper!


USB Cable, Spare nozzle, USB stick, allen keys and tool to remove the nozzle


Great Quick start instructions


Software on CD (Same as supplied on the USB memory stick) and print beds


Rear view

Side view with the spool cover

Spool cover removed


Top view


Front View

So you get 4 x printing platforms, 3 perforated which are supposed to be for ABS, and I Guess the plain smooth plate is for PLA. All that is required is to clip off the cable ties that are marked with the yellow tag, load the software and then switch the unit on, perform an initialization and auto level mode and its then ready to print.

To insert the filament into the extruder you first load the reel into the right hand side (Accepts 500g sized reels - 750g at a real push). The filament is fed through the tube and then placed into the extruder. In software you go into the maintenance menu and select extrude. The hot end heats up to temperature for the chosen filament, and then beeps to say its at temperature. Once at temperature you can hear (and feel the filament being pulled into the extruder), this then extrudes a set amount of filament out of the nozzle and then stops - presumably preset up such that if you change filament colour that it extrudes enough filament to remove fully the old color in there!

Now I am ready to print. So far this has been a smooth setup - Really this could be done by anyone without engineering knowledge of 3D printers - I did notice that you can print out spare parts of the printer (as there are the files for the spare parts on the supplied Memory card, and also some of the parts on the printer are obviously 3D printed).

(The software reads in an STL among other file formats and then outputs its own Machine code format - as opposed to GCode) 

So in All - Can you be setup and printing in 15mins? ....... Yes if you don't have to take other calls, whilst setting this up!

Friday, 19 February 2016

N gauge 3D signal box building


It has taken a bit of time since the last print, due to work, but following on from my first print I have now had much better success.. It turns out that the wall thickness was too thin, The wall thickness was 1mm, and now having made it 2mm it is now printing out well. At the same time I tweaked the support material to make the support material easier to remove..


The one issue I have found has been cleaning around the windows and  finally I need to work out why on the 3d model the windows all show correctly the individual panes of glass, but on the print some of the panes are missing, and in the slicing software it shows the panes being missing..

More work required to perfect this one!

But Thanks for those on Reprap forums for suggesting the thickening of the walls could be one of the problems.

Saturday, 13 February 2016

N Gauge New print

Its been a busy couple of weeks, and haven't had a chance to do any prints. It also took me the last couple of weeks to get the next design done.

So here is what the design looks like at the time of slicing

As you can see this should be a signal box for a model railway! So next was to print it out. You can see the result of the print below


As you can see from this picture the print ended up being slanted towards the top part of the walls (the roof was fine), This was the second attempt at the part, as the first did the same. The first time I thought this was down to skipping, but I kept an eye on this on the second time and could not hear the printer skip. The only difference between this part and the previous house was the wall thickness!.


You can see the wall thickness is thin, it has been set to 1mm, previously wall thickness was 2.5mm for the other building. Therefore I am going to repeat the print but with an increased wall thickness of 2mm (Here I was hoping to save on filament!

Sunday, 31 January 2016

Wood Filament part 3

So this is part three of the wood filament print!.. After the first house I set out to draw my own N gauge from a paper plan into 3d software and then print this out. However this time making it a hollow print, with the windows open. The idea being that lights can be fitted inside making it more realistic.

Again I used the wood filament, Just because this was the best print., I think I may try the white PLA though as well at some point.

Anyway here is the print on the bed, prior to clean up


Then after I removed it from the bed

Then Cleaned up.


One thing I have found that is a problem is printing small (2mm) squares, they end up being rounded, so the solution I have come across is to just use a knife to square everything off. Only a problem is seems for Chimneys!

Just a small update to those wondering, this is the same filament as used previously which is